The form component, whose option icon is shown below, creates a form, which lets your visitors contact you.

Editing a form
Inside each form component are forms bars, as shown below, followed by a submit button. The plus sign on the lower bar lets you add options into the form.
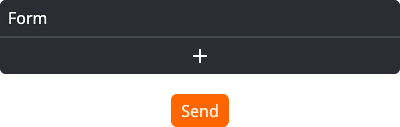
Click on the form bar to open the form window:
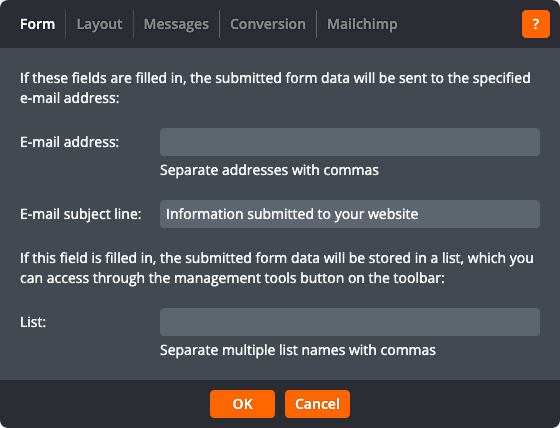
The form window has five tabs. The Form tab lets you change the following settings:
E-mail address
An e-mail address (or multiple e-mail addresses separated by commas) to which to e-mail the submitted data. If this field is left blank then the submitted data will not be e-mailed.
E-mail subject line
The subject line for the e-mails sent to the e-mail address given in the field above.
List
The name (or multiple names, separated by commas) of a list in which to store the submitted data. If this field is left blank then the submitted data will not be stored in a list.
The Layout tab lets you change the following settings:
Label width
The width, in pixels, of field labels.
Button label
The text displayed on the form submit button.
Button alignment
Whether the button should be left-aligned, right-aligned, or centred.
The Messages tab lets you change the following settings:
Thank-you page
Select Stay on this page and display thank-you message to display the thank-you message on the current page once the form is submitted. Select a page to take the visitor to that page after the form is submitted.
Thank-you message
The message to be displayed when the form has been submitted successfully. This message is only used if Stay on this page and display thank-you message is selected in the field above.
Error message
The message to be displayed when the form has been submitted but there are problems — for example, if a required field is left blank. A separate message will be displayed above each individual field that has a problem.
The Conversion tab lets you enable conversion tracking. Conversion tracking allows third-party systems such as Google AdWords to report on the effectiveness of your digital marketing. To add a conversion code, click the Add conversion code button for the appropriate service, paste the conversion code into the text field, and click OK. To remove existing conversion code, click the Remove button for the appropriate conversion code.
The MailChimp tab lets you connect the form to a MailChimp list.
Click OK to apply the changes to the form. Click Cancel to return to the page without changing the form.
